Create an Account
To use Poly Lens, you must set up an Account and log in to the application.
Create a Poly Lens Account
Example of an Account name: ACME West Europe, ACME Marketing Department, or Joe's Home Office.
-
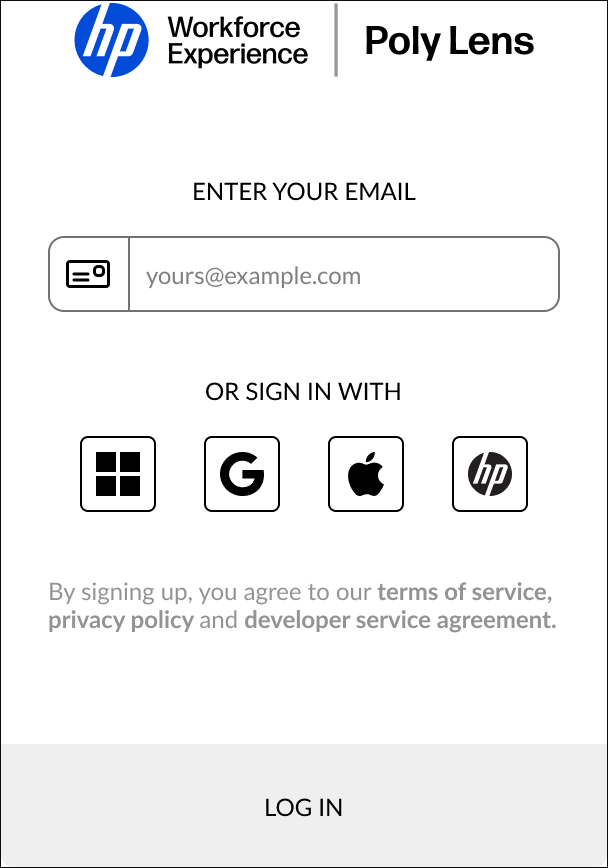
Open Poly Lens, on the Poly Lens Log In page, use one of the following options to create your Single Sign On login and create an Account:
- Sign in with Microsoft - Use your existing Microsoft account or create a new one. See Permissions for more information.
- Sign in with Google - Use your existing Google account.
- Sign in with Apple - Use your existing Apple account.
- Sign in with HP - Use your existing HP account.
- Email/Password - Note: You can no longer create a local account. However, if you previously created a Local account you can continue to use this account to log in.
Note: By signing up for Poly Lens, you agree to our Terms of Service and Privacy Policy.
-
Poly Lens sends a welcome email with information on how to get started. Select Get Started.
-
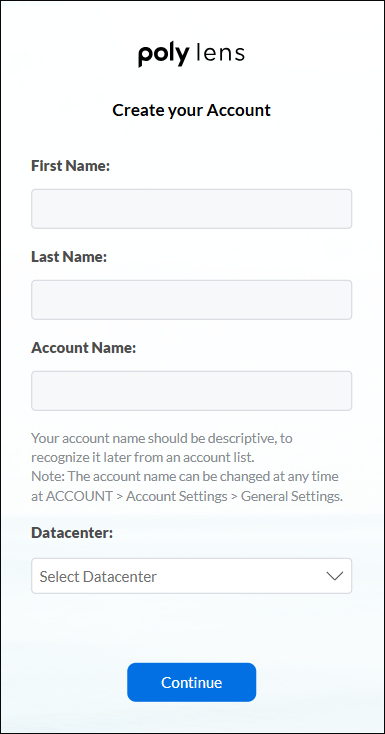
On the Poly Lens Create your Account page enter a First Name, Last Name, and Account Name.
-
Select a Datacenter from the dropdown menu (United States, or Germany), based on your organization's location/compliance needs.
-
Select Continue.
-
Poly Lens creates your account with this Account Name to this default Account.
Note: When you onboard a device, Poly Lens will associate the device to this Account by default.
Sign up with HP
HP ID is a centralized identity solution from HP that lets you use one set of credentials for various HP services. Key benefits include:
- Simplified Access: Use a single sign-in flow to access supported HP solutions and the Poly Lens ecosystem of cloud portals and apps.
- Enhanced Security: Industry-standard authentication safeguards your account.
- Seamless Ecosystem: Switch effortlessly between HP solutions without managing multiple credentials.
To Create a New Account
-
Go to the ACCOUNT menu > Manage All Accounts.
-
Select Add New.
-
Enter an Account Name.
-
Select a Datacenter.
-
Select Continue.
-
The new Account name is added to the list of Accounts.